xysfdx
xysfdx is a Rapid development tool for Salesforce SFDX Development. Metadata diff with server, retrieve standard sobject.
Features
- Less than 100k
- Support Dataloader v40.0.0~v47.0.0 Export/ExportAll/Insert/Update/Upsert/Delete.
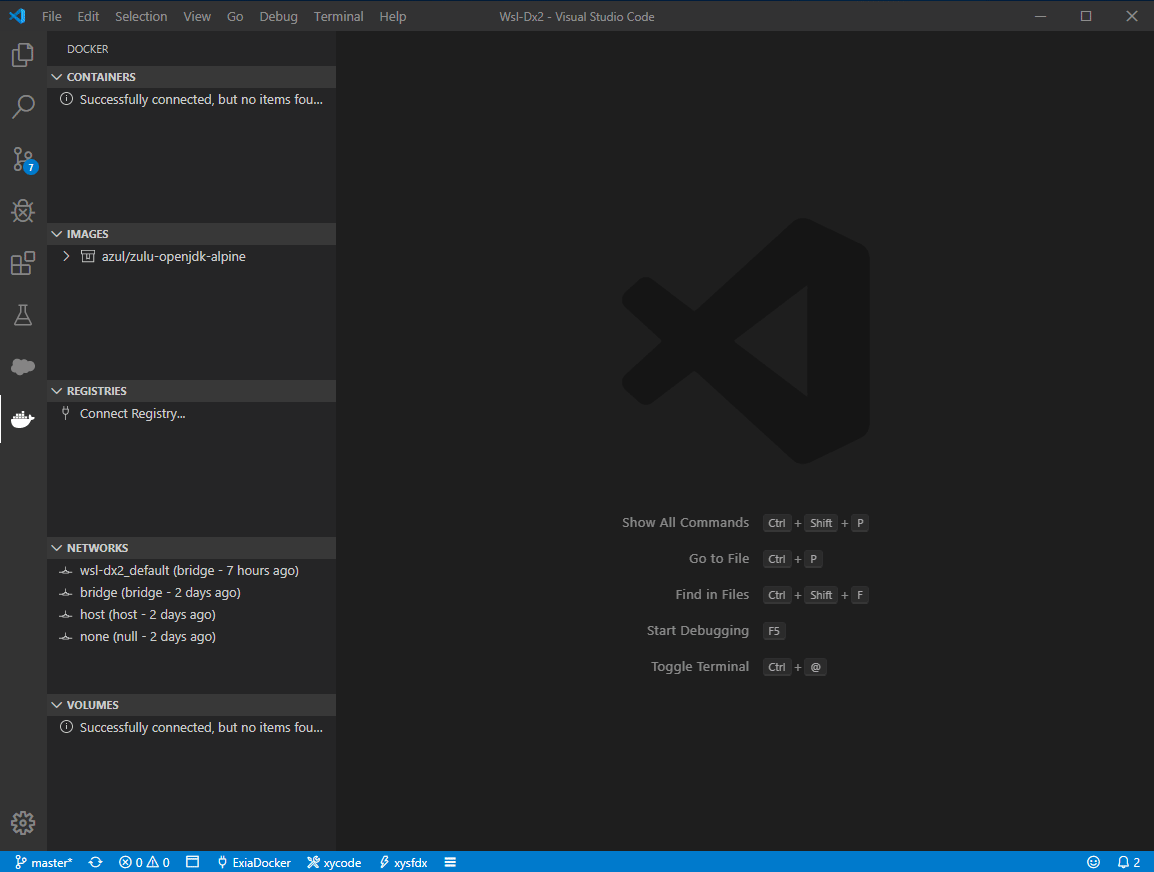
- Support Docker to develope sfdx . Use exiasfdc/sfdx docker image, no need to config, just run it.
- Support using WSL/git bash/Msys2/MingW64/MingW32 to develope sfdx .
- Authenticated with oauth2.
- Retrieve Metadata by select.
- Metadata diff with server(any sfdc organization).
- Retrieve standard sobject.
- Open sfdc link easily.
- Open console easily.
- Option Features
- support Username-Password OAuth Authentication .
- auto run
.apexfile after save. - auto save to sfdc server
- deploy to any sfdc organization
- pretty code: pretty
.cmp,.page,.component,.trigger,.clsfile
Shortkey
shortkey: ctrl+shift+j
Requirements
Usage
Create a project
force:project:create

Retrieve metadata
force:source:retrieve:metadata
Diff metadata
force:source:diff:metadata
You can diff with any sfdc organization.
diff source
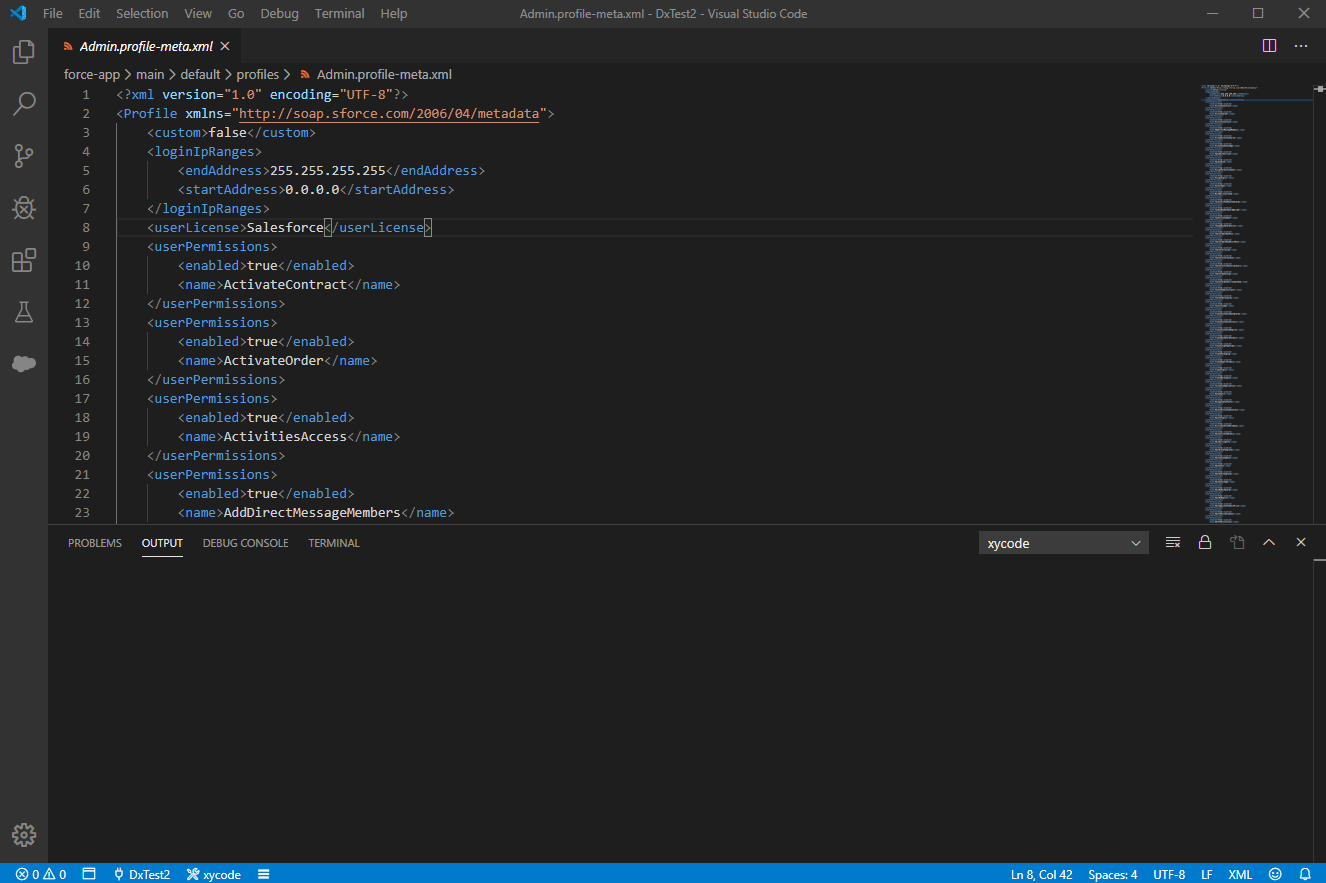
diff profile
Authentication
force:auth:web:login
force:auth:web:login:setdefaultusername
Deploy metadata
force:source:deploy:metadataforce:source:deploy:current_file
Dataloader
- support v40.0.0~v47.0.0
- support CSV Export/ExportAll/Insert/Update/Upsert/Delete
If you use docker, you can only select csv/sdl file in current workspace.
TIPS: How to create sdl file ? I always use SalesforceXyTools For Chrome to create it.
Option Features
How to config option features
You can also open the Settings editor from the Command Palette (Ctrl+Shift+P) with Preferences: Open Settings or use the keyboard shortcut (Ctrl+,).
search xysfdx
Build-in Option Features
xysfdx.optionFeatures config:
- use_advanced_command: show advanced command
- auto_run_apex_anonymous: run
.apexfile after save it - auto_save_to_sfdc: auto deploy to
.trigger,.cls,.component,.pagefile to sfdc - pretty_vf_page: pretty
.cmp,.page,.componentfile - pretty_apex_anonymous: pretty
.apexfile - pretty_apex: pretty
.trigger,.clsfile
config:
1
2
3
4
5
6
7
8
9
10
11
12
13
14
15
16
17
18
19
20
21
{
    "xysfdx.optionFeatures": [
        // show advanced command
        //"use_advanced_command",

        // auto deploy to `.trigger`, `.cls`, `.component`, `.page` file to sfdc
        // "auto_save_to_sfdc",

        // pretty `.cmp`, `.page`, `.component` file
        // "pretty_vf_page",

        // pretty `.trigger`, `.cls` file
        // "pretty_apex",

        // run `.apex` file after save it, default active
        "auto_run_apex_anonymous",

        // pretty `.apex` file
        "pretty_apex_anonymous"
    ]
}
show advanced command
Advanced:force:source:deploy:current_file: Select Authenticated server and deploy fileAdvanced:force:source:retrieve:current_file: Select Authenticated server and retrieve file
auto run apex anonymous code
auto_run_apex_anonymous
auto save to sfdc server
auto_save_to_sfdc
pretty code
- pretty_apex: pretty
.cmp,.page,.componentfile - pretty_vf_page: pretty
.trigger,.clsfile - pretty_apex_anonymous : pretty
.apexfile
you need to install
javaand prettier and prettier-plugin-apex npm install –global prettier prettier-plugin-apex sudo apt install openjdk-8-jdk read more about prettier-plugin-apex
For Docker user
vscode config
1
2
3
4
5
6
{
    "xysfdx.shellMode": "docker",
    "xysfdx.shellPath": "",
    "xysfdx.dockerContainer": "${lowercaseWorkspaceName}_sfdx_1",
    "xysfdx.dockerAppRoot": "/app/sfdx"
}
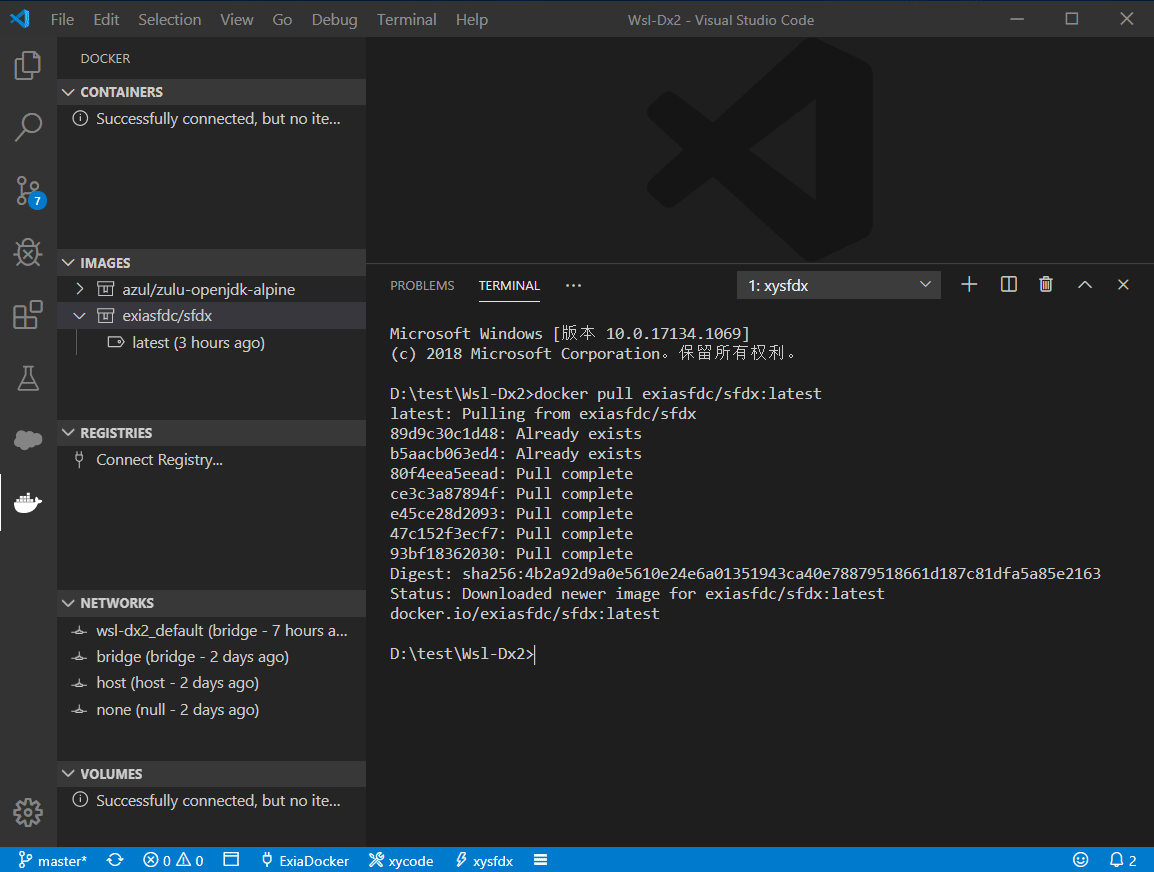
How to use docker ?
- pull images :
docker: pull image exiasfdc/sfdx
- create container :
docker: create sfdx container
- use docker shell :
docker: attach docker shell
then , use the xysfdx to develope sfdx.
attention
- can not use
force:auth:web:loginorforce:auth:web:login:setdefaultusername - use
xy:auth:username:loginto auth
For Windows user
use wsl/git bash/Msys2 bash to develope sfdx.
Open cmd/wsl/bash
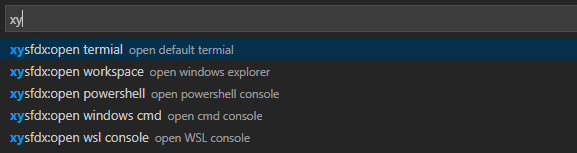
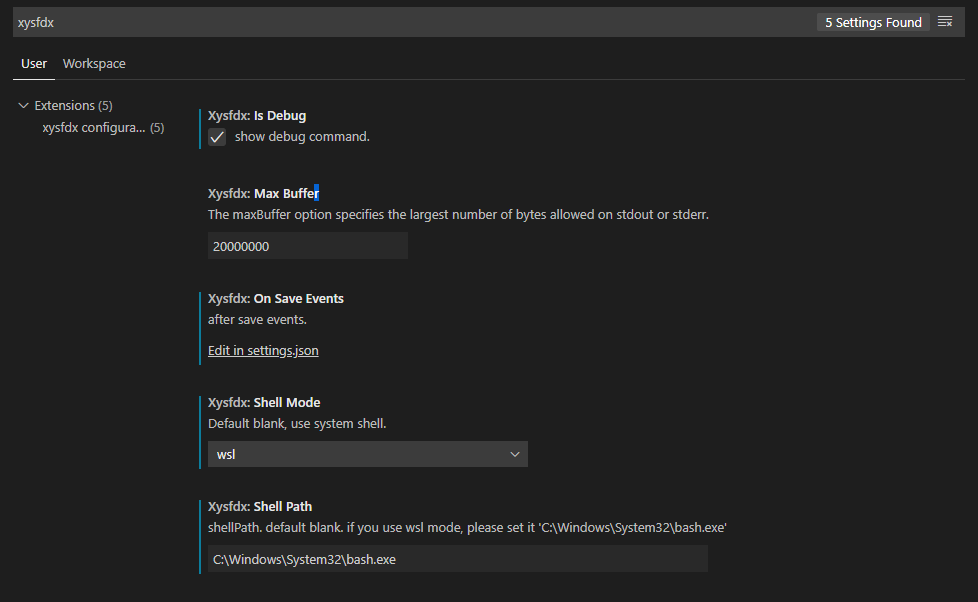
use wsl
open wslmode
1
2
3
4
{
    "xysfdx.shellMode": "wsl",
    "xysfdx.shellPath": "C:\\Windows\\System32\\bash.exe"
}
use msys2 bash
1
2
3
4
{
    "xysfdx.shellMode": "bash",
    "xysfdx.shellPath": "C:\\msys64\\usr\\bin\\bash.exe"
}
use git bash
1
2
3
4
{
    "xysfdx.shellMode": "bash",
    "xysfdx.shellPath": "C:\\Program Files\\Git\\usr\\bin\\bash.exe"
}
Enjoy it!